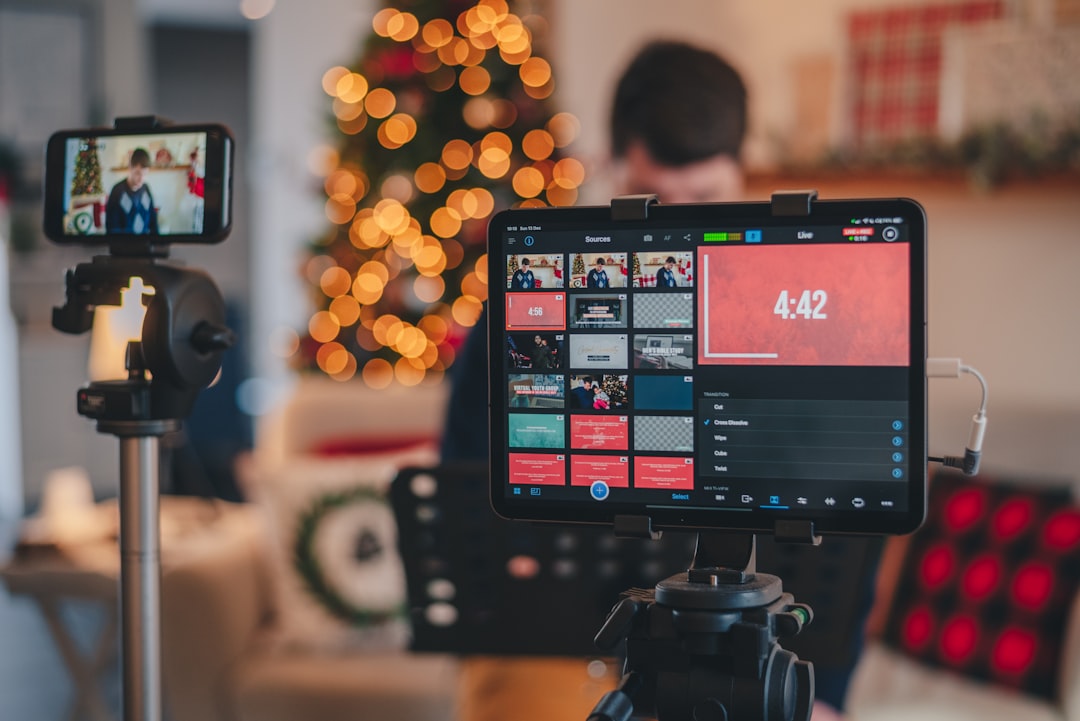
Starting a live stream does not require a studio or an expensive equipment list. This practical guide takes you from choosing a platform and checking your internet connection to configuring OBS, testing your scenes and using a reusable pre-stream checklist.
Overview
A reliable stream is built from four connected parts: a suitable platform, a stable connection, clear audio and a simple production workflow. If one part is weak, the whole broadcast can feel difficult to manage. The goal for a first stream is not maximum visual quality; it is a repeatable setup that you can operate confidently.
Begin by deciding what you are streaming and who needs to watch. A gaming or community stream may suit a public creator platform, while a workshop, interview or internal presentation may be better served by a webinar or virtual event platform. Compare the audience tools, chat features, recording options and access requirements before committing. Our guide to live streaming platforms in the UK can help with that decision.
For many beginners, OBS Studio is a useful starting point because it can combine cameras, microphones, screens, images and browser sources in one workspace. Other streaming software may offer a simpler browser-based workflow. Choose the tool that matches your format rather than assuming the most configurable option is automatically the best.
A sensible beginner setup
- A computer or mobile device that can handle your chosen streaming application.
- A stable internet connection with enough upload capacity for the selected stream quality.
- A USB microphone, headset microphone or other dedicated audio source.
- A webcam or phone camera, positioned at eye level if you are appearing on screen.
- Headphones for monitoring sound and preventing speaker echo.
- Basic lighting, such as a window positioned in front of you or a small lamp.
A cheap streaming setup can work well when the priorities are in the right order: audio first, reliable internet second, then lighting and camera quality. Decorative equipment, complex overlays and extra hardware can wait until the core workflow is dependable.
Checklist by scenario
Before choosing equipment
- Write down the format: solo presentation, gaming, interview, live podcast, tutorial or event.
- Decide whether you need one camera, multiple sources, screen sharing or a capture card.
- Check whether guests will join remotely and whether your platform supports the required guest workflow.
- Choose a quiet, practical location with manageable background noise and lighting.
- Set a realistic first-stream budget and buy only equipment that solves a known problem.
For a live podcast or interview, prioritise microphone placement, headphones and a reliable guest connection. For a console or camera-based production, a capture card may be useful, but it is not necessary for every beginner. For a webinar or ticketed event, consider a platform designed for registration, moderation and audience access; see our comparison of virtual event platforms in the UK.
Before installing OBS
- Download OBS from its official source and install the version appropriate to your operating system.
- Connect the camera and microphone before opening the software, where practical.
- Run the initial configuration process and select the option that matches your main use.
- Confirm that OBS can see your camera, microphone and display or application window.
- Connect the intended streaming account or enter the service’s stream credentials carefully.
Keep your stream key private. If you suspect it has been exposed, use the platform’s account controls to replace it rather than continuing to broadcast with a compromised key.
Build three simple scenes
Start with a small scene collection instead of designing a complicated broadcast. Create:
- Starting soon: a static message or countdown while you prepare.
- Main: your camera, microphone and any screen or presentation source required for the programme.
- Break or ending: a holding screen that prevents viewers from seeing private preparation or an empty room.
Add sources one at a time and name them clearly. If you use alerts, chat panels or branded graphics, test each one separately. You can find more guidance in our article on stream overlay tools and alert apps.
Set up audio and video
- Select the intended microphone in OBS and speak at your normal volume.
- Watch the audio meter while speaking; avoid allowing it to remain at the maximum level.
- Listen through headphones for hum, echo, keyboard noise or duplicated audio.
- Set the camera at a comfortable eye level and frame your head and shoulders consistently.
- Face your main light source and check that the background is not brighter than your face.
- Choose a moderate resolution and frame rate that your computer and connection can sustain.
There is no universal best setting for every computer or platform. A stable, clear broadcast is more useful than a higher-quality setting that causes dropped frames or overheating. Record a short local test if you are unsure.
Check your internet connection
Streaming depends particularly on upload performance and consistency, not just the download speed shown in a broadband plan. Test from the room where you will stream and, where possible, use a wired connection. If you must use Wi-Fi, reduce competing traffic and position the device sensibly relative to the router.
Use the platform’s recommended settings as a starting point, then leave headroom rather than configuring the stream at the limit of your connection. The best internet speed for streaming depends on resolution, frame rate, software settings and network stability. If the connection is inconsistent, lower the stream quality before adding more visual sources.
Run a private or unlisted test
- Start the stream without announcing it publicly, if the platform provides a private or unlisted option.
- Check picture, microphone level, background noise and screen-sharing permissions.
- View the broadcast on another device and confirm that the delay is manageable.
- Switch between scenes and verify that the correct sources appear each time.
- Ask a trusted viewer to report issues you may not notice from the broadcaster’s preview.
- Stop the test and write down one or two changes before going live.
What to double-check
Use this short checklist immediately before pressing the live button:
- Account: You are signed into the intended channel, page or event.
- Privacy: The stream visibility, title, category and audience settings are correct.
- Audio: The right microphone is selected, muted sources are intentional and headphones are connected.
- Camera: The lens is clean, framing is acceptable and no private information is visible behind you.
- Sources: Slides, videos, browser tabs and capture devices open correctly.
- Notifications: Desktop, phone and email notifications are disabled or hidden.
- Moderation: A moderator is briefed where the chat or audience requires supervision.
- Backup: You know what you will do if the camera, microphone or internet connection fails.
- Recording: Local recording is enabled only if your storage and computer can support it.
Keep this list beside your desk or save it as a note on your phone. If you plan to broadcast to more than one platform, test the workflow before adding destinations. Our guide to multistreaming without breaking quality covers the additional checks involved.
Common mistakes
- Buying equipment before defining the format: A purchase may not solve the actual problem. Plan the scene and audio workflow first.
- Using the built-in microphone without testing it: Built-in audio can be workable, but room echo and keyboard noise often need attention.
- Making the first scene too complicated: More sources create more points of failure. Add features after the basic broadcast works.
- Ignoring sound until the end: Viewers may tolerate a simple image more readily than unclear, distorted or echoing audio.
- Streaming at the highest available quality: Excessive settings can create dropped frames and an unstable broadcast.
- Skipping a full rehearsal: A short test may not reveal a problem with scene changes, guest permissions or a long presentation.
- Forgetting the audience journey: Tell viewers what is happening at the start, explain pauses and provide a clear ending.
- Failing to reuse the recording: Mark useful moments during the stream so clips, highlights, captions or a podcast edit are easier later. See how to repurpose livestreams.
When to revisit
Review this setup before your first broadcast, after changing platforms or software, and whenever you replace a camera, microphone, computer, router or capture device. It is also worth revisiting before seasonal programming, a paid event, a guest-heavy episode or any stream where failure would be especially disruptive.
Platform menus, account requirements and recommended settings can change, so confirm those details in the service’s current help documentation before an important event. Recheck your upload performance if your household usage, venue or connection has changed. Review the workflow after each broadcast and keep a short record of what went wrong, what viewers asked for and what you want to improve.
Your next action: choose one platform, create the three basic scenes, connect your microphone and camera, then run a private five-minute test. Use the checklist above to fix only the most important issue before repeating the test. Once the stream is stable, improve presentation, discoverability and audience growth gradually rather than changing everything at once.